Steak, Uncomplicated: Ditch the Timer and Master Real-World Thermodynamics
Vault Track: #4 | Sealed on 2026-07-07
When trying to cook a good steak, you've probably stumbled across countless guides yelling at you to "cook exactly 2 minutes and 30 seconds per side" or "smother it in expensive extra virgin olive oil."
But when you actually stand in your kitchen, you face a dozen unpredictable variables: the real heat of your stove, the thickness of the meat, its exact core temperature, and how well it was thawed. Not every kitchen is the same.
That’s why I’m ditching the rigid formulas for a more intuitive, real-world approach. Some might disagree with going against the "textbook," but this is what actually works on the line. Enjoy the read.
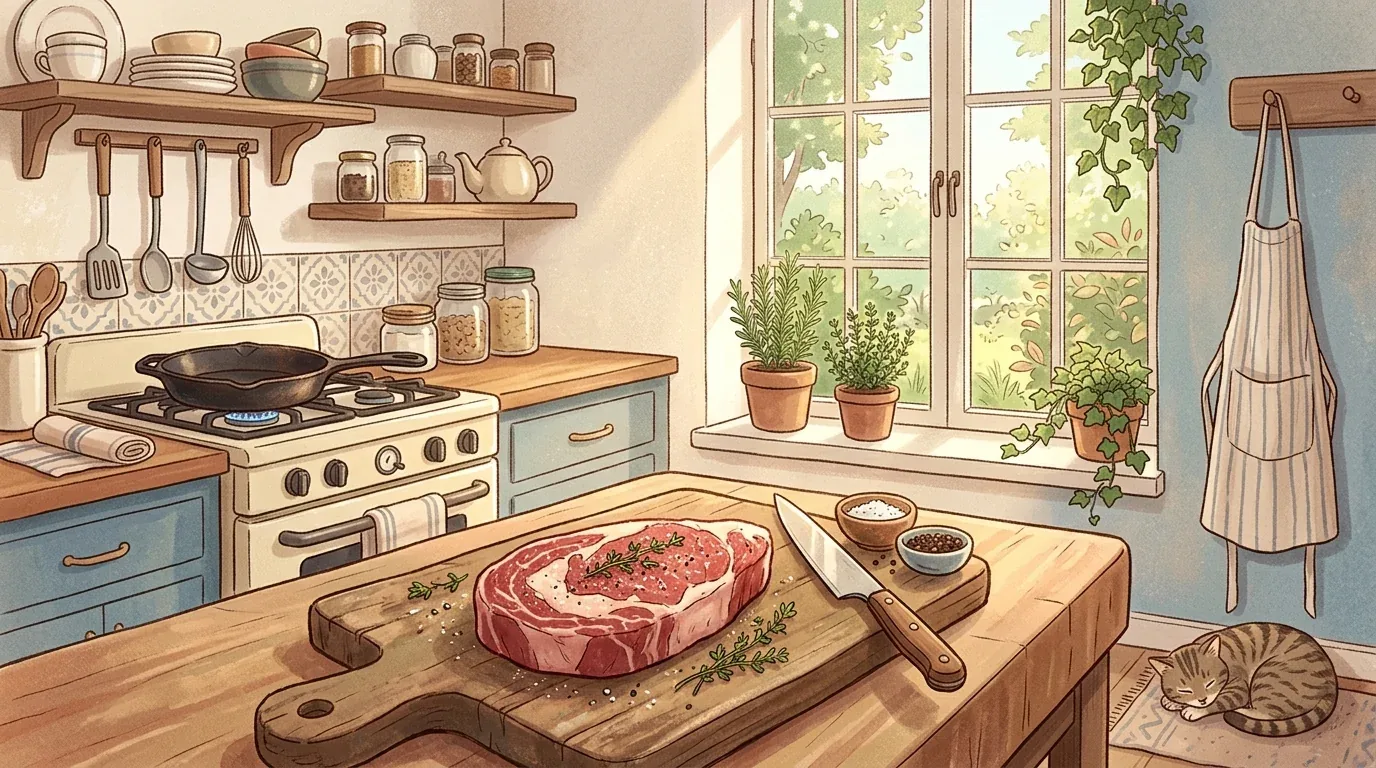
Step 1: Defrosting Logic (When in a rush, your hands must work)
- The Best Method: Leave the meat in its vacuum-sealed bag and submerge it in an ice-water bath in the fridge. Just check for micro-leaks first.
- The Microwave Hack (Emergency Only): If you're in a rush, use the microwave defrost function. But do not blindly trust the machine. Enter the exact weight (g), and you must open the door and flip the meat every 10 to 20 seconds. If you want the shortcut, you have to do the manual labor. Otherwise, you’ll get boiled edges and a frozen core.
- The Real-World Compromise: If the surface turns a little gray during defrosting, don't panic. You’re going to sear it anyway. The goal is to get the core to a soft 5~10°C (41~50°F). Just never let the internal temp hit 40°C (104°F) in the microwave—the proteins will denature and turn into a rubbery mess.
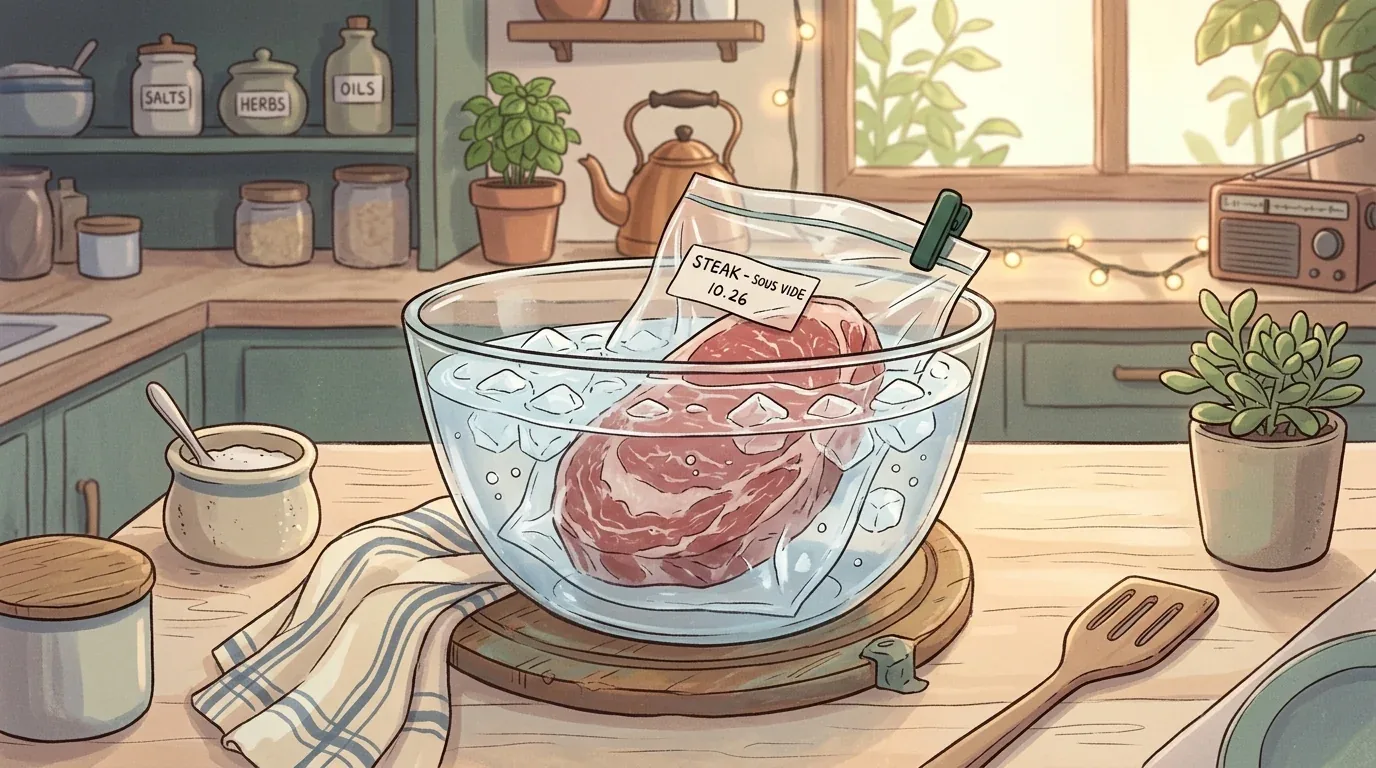
Step 2: Prep & Seasoning (Don't make salt-cured ham)
- Cutting Against the Grain: Slice with the grain for a chewy bite, but against the grain (cross-grain) for a tender, melt-in-your-mouth texture. Always plan how it will be served before your knife hits the board.
- No Hammers Allowed: Beating your meat with a mallet or stabbing it with needles ruins the cellular structure and drains the juices. If you have an extremely tough cut, gently score the surface 1/3 of the way deep. If it’s a good steak, leave it alone. Preserve the juices.
- Ditch the 30-Minute Wait: Many guides say to salt your meat and wait 30–40 minutes. Unless you're cooking a massive, thick cut, doing this to a standard steak will draw out all the moisture and turn it into a dry, salty ham. Just season it generously with salt, pepper, and herbs right as you start heating your pan. Those 5–7 minutes of pan-heating time are all the osmosis you need.
- Regular Cooking Oil is Plenty: Extra virgin olive oil has a low smoke point. At high searing temperatures, it burns, smokes up your kitchen, and leaves a bitter, acrid taste. Plus, all those fancy flavor notes burn off anyway. Grab a regular, high-smoke-point cooking oil (canola, soybean, sunflower). A light coating on the meat is the smartest and healthiest choice.
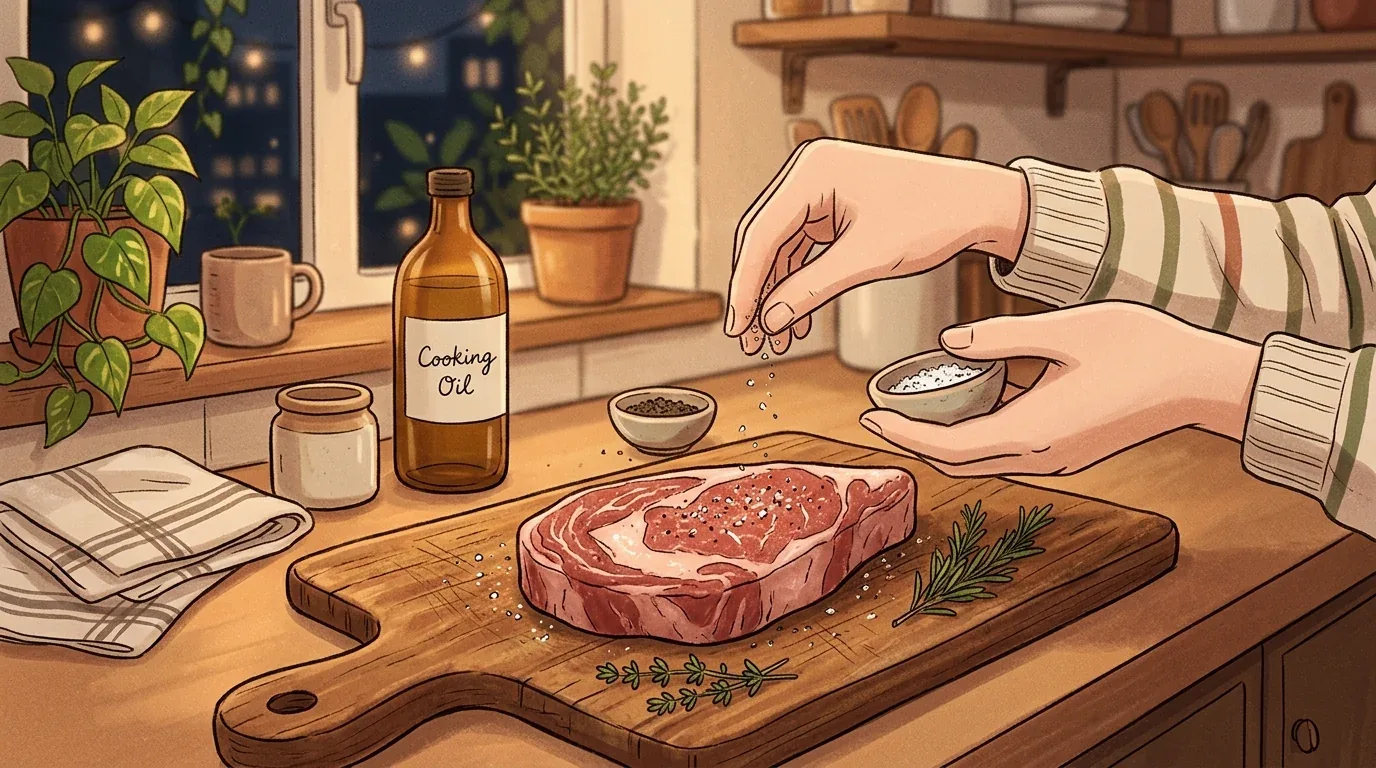
Step 3: Dynamic Searing (Respect the Pan Temperature)
- Preheat to Hell: Throw away the clock. Blast the pan on high heat until you see wisps of smoke dancing off the surface. If you aren't sure, touch the edge of the meat to the pan—it should aggressively hiss ("Sssssizzle!") at you.
⚠️ Fire Hazard Warning: Be extremely careful when placing the meat into the pan. The combination of oiled meat and a screaming hot pan instantly creates dense oil vapor. If your stove has a strong flame, this vapor can easily catch fire and cause a dangerous flare-up (a literal fire show). Always lay the meat down gently, dropping the edge away from you so the hot oil doesn't splash toward your body.
- Pan Temp is King: The moment cold meat hits the pan, the pan's temperature plummets. Do not panic and lower the heat. Keep the heat on max to quickly bounce the pan's temperature back up. Keep searing until the Maillard reaction explodes and you get a beautiful, crispy brown crust. You're managing the pan's temperature just as much as the meat.
- Variable Control: If the pan gets dangerously hot and threatens to burn the crust, take the meat off for a second to adjust. If the meat is thin, don't wait too long or the inside will overcook—flip it quickly. The goal is a solid, waterproof crust on both sides.
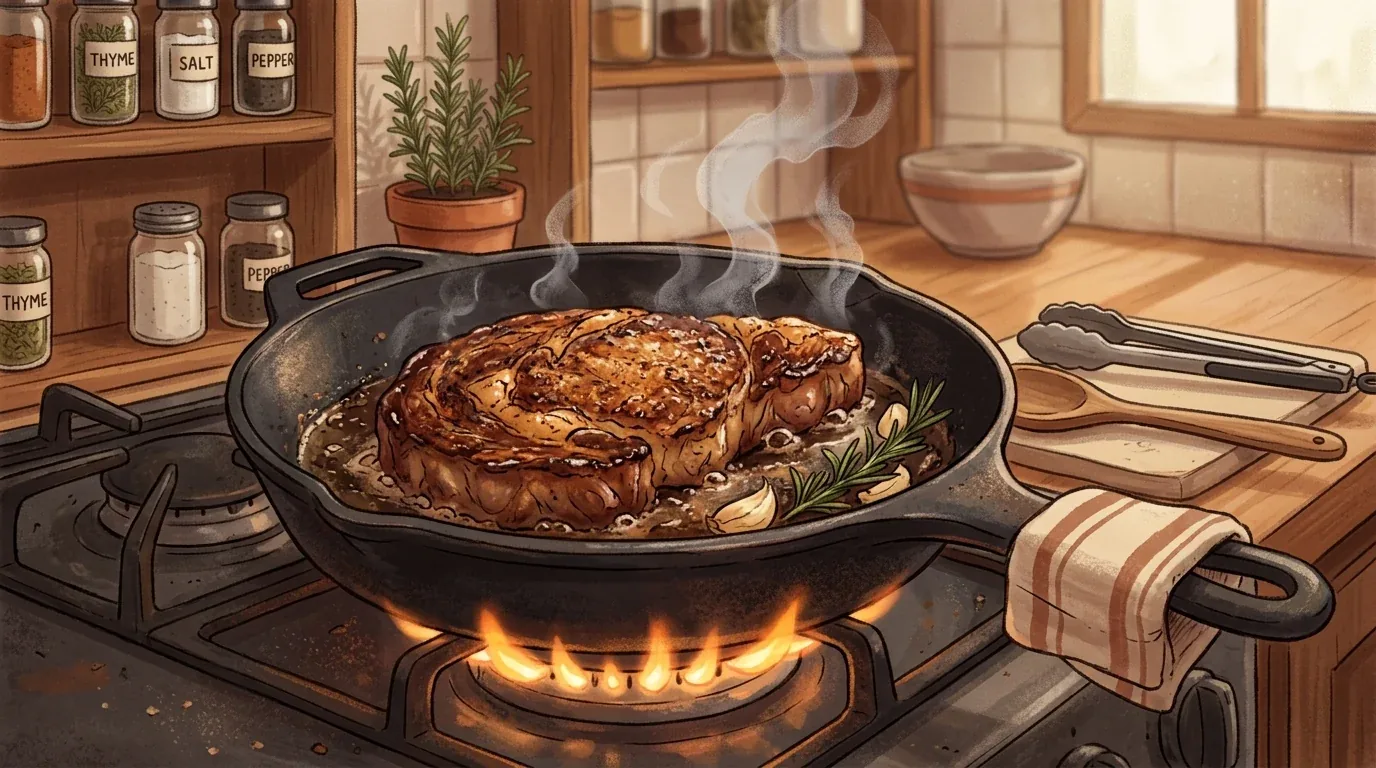
Step 4: Low-Heat Soaking (Downshifting)
- Once you have a beautiful crust on both flat sides, use the remaining high heat to sear the edges to lock the juices in.
- Once everything is locked in, immediately drop the heat to low.
- This gives the heavy, residual heat of the pan time to gently and evenly soak into the core of the steak. This ensures the inside cooks perfectly without turning tough.
Step 5: The Poke Test (Trust your fingers, not the timer)
"How many minutes per side?" is the wrong question. A slightly colder steak needs more time; a perfectly thawed one needs less. Stop relying on numbers and do what professional line cooks do: poke the meat.
Feel the fleshy part of your palm, right at the base of your thumb. Match that tension with the bounce of your steak.
| Hand Position | Sensation (Density Feedback) | Final Steak State |
| Relaxed Hand (No fingers touching) | Very squishy (like your cheek) | Raw |
| Thumb + Index finger | Soft with a little give | Rare |
| Thumb + Middle finger | Springy and bouncy | Medium Rare ~ Medium |
| Thumb + Pinky finger | Rock hard (like your forehead) | Well-done |
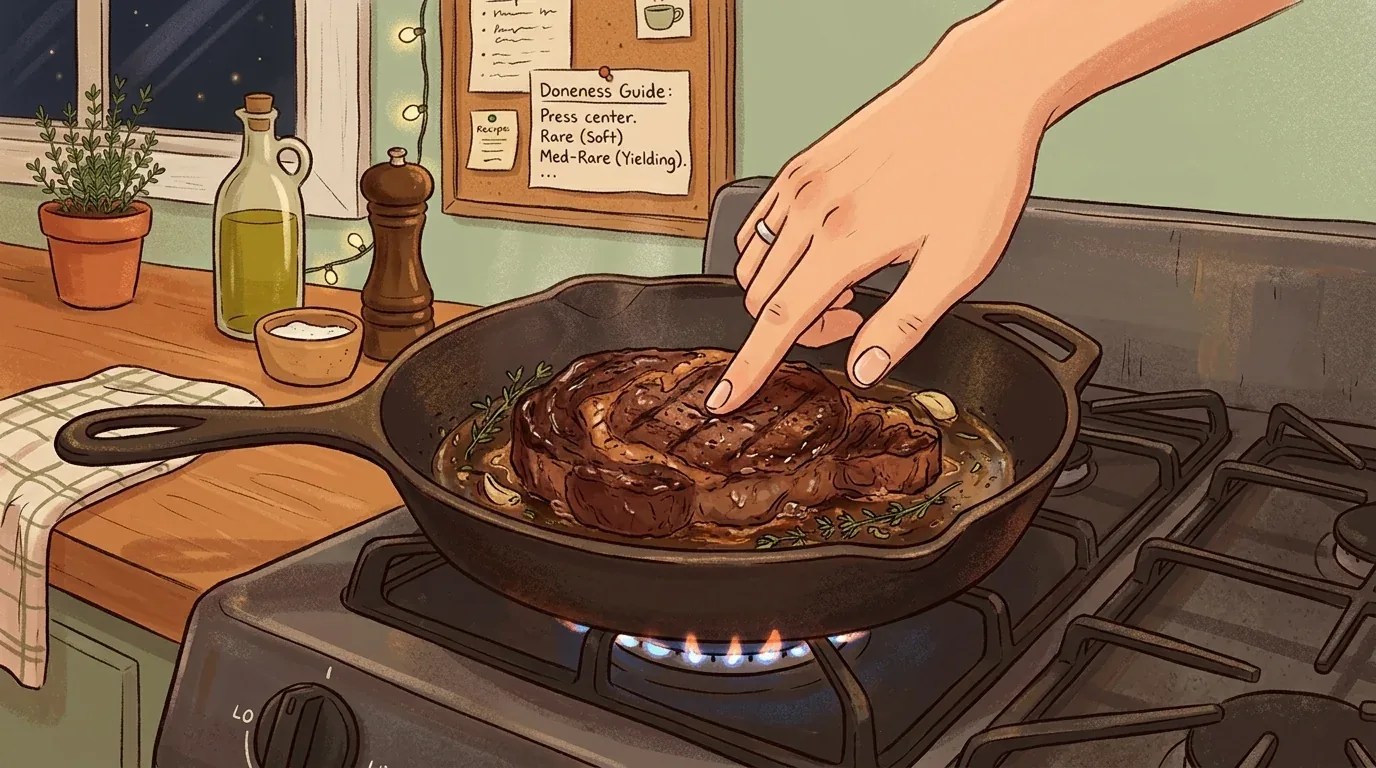
💡 Pro Tip: If the meat feels rock hard, it's Well-done. Unless that's exactly how you like it, pull the steak off the heat while it still has a squishy, bouncy give to it. This takes practice, so keep poking and learn the feel.
Step 6: Resting (Please, do not slice it immediately!)
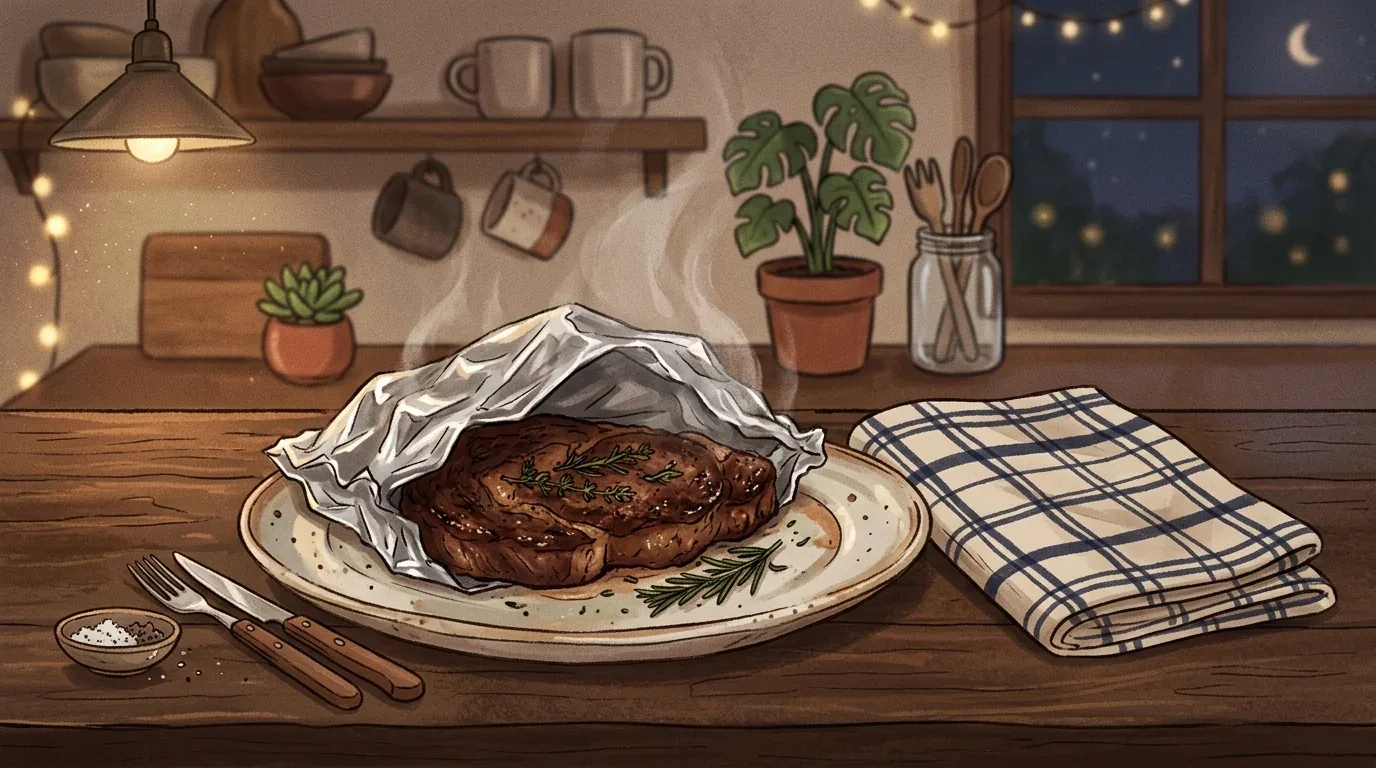
- If you pull it off the heat and slice it immediately, your cutting board will flood with juices and your steak will be bone-dry.
- Take it out of the pan, put it on a warm plate, cover it lightly with foil or a lid, and leave it alone for 5 to 10 minutes. This keeps the surface from drying out and allows the expanding, boiling juices to redistribute evenly back into the relaxing muscle fibers.
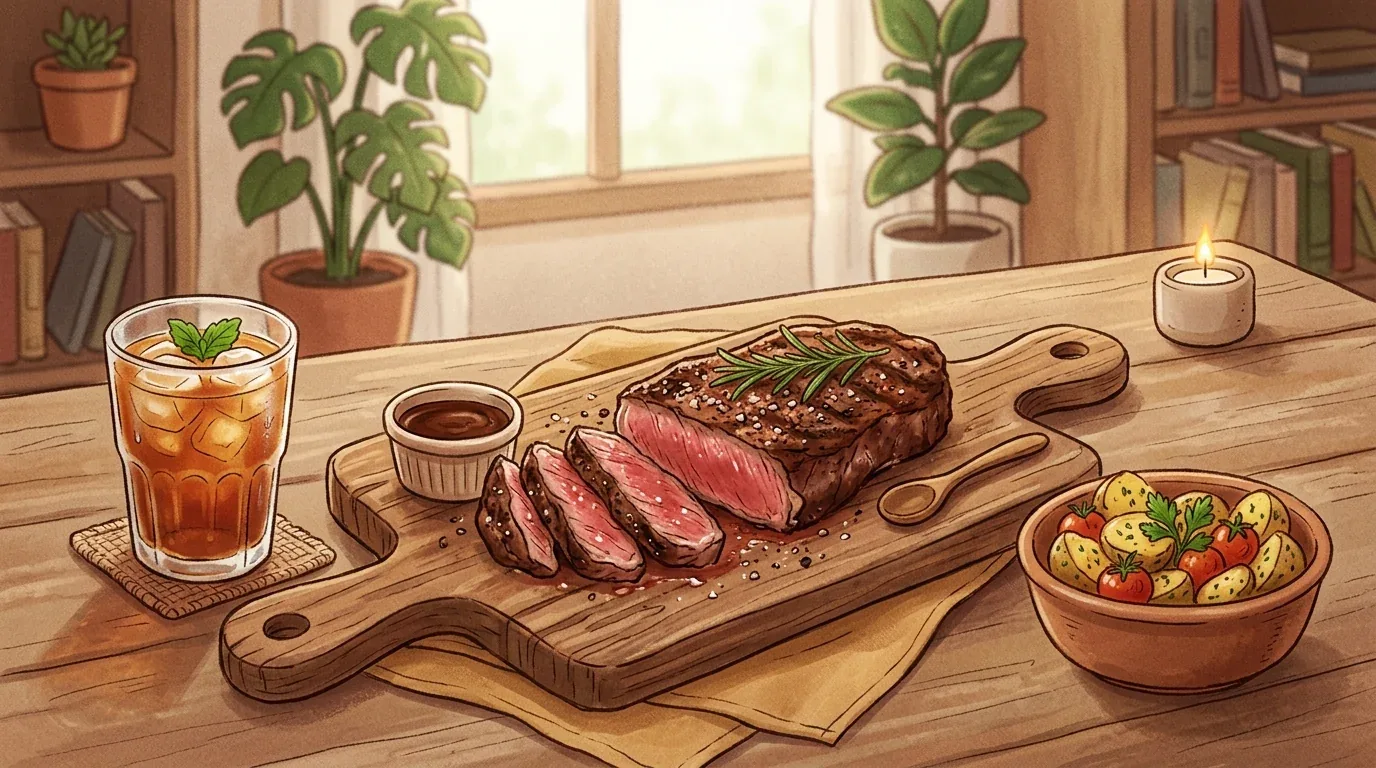
The Calcrecipe Bottom Line: Every kitchen's firepower and meat condition is different. Ditch the rigid timers and fancy oils. Use standard cooking oil, blast the heat until the pan smokes, manage the pan's heat drop, sear the edges, downshift to low heat, and poke it with your finger. Physical feedback is your only secret to a perfect steak.
Scaling This Recipe: Steak, Uncomplicated: Ditch the Timer and Master Real-World Thermodynamics
This vault entry is built for operational scaling in professional kitchens. The embedded calculator converts each ingredient to a gram-based baseline, then multiplies every line by your target batch ratio.
When ingredients were entered with volumetric source data, CalcRecipe applied density calibration so a tablespoon of paste does not scale like a tablespoon of water.
Return to the AI Scaler on the food page, or browse more formulations in the Chef's Vault.
Have any suggestions or found a bug in this recipe?
💡 Submit Your Feedback